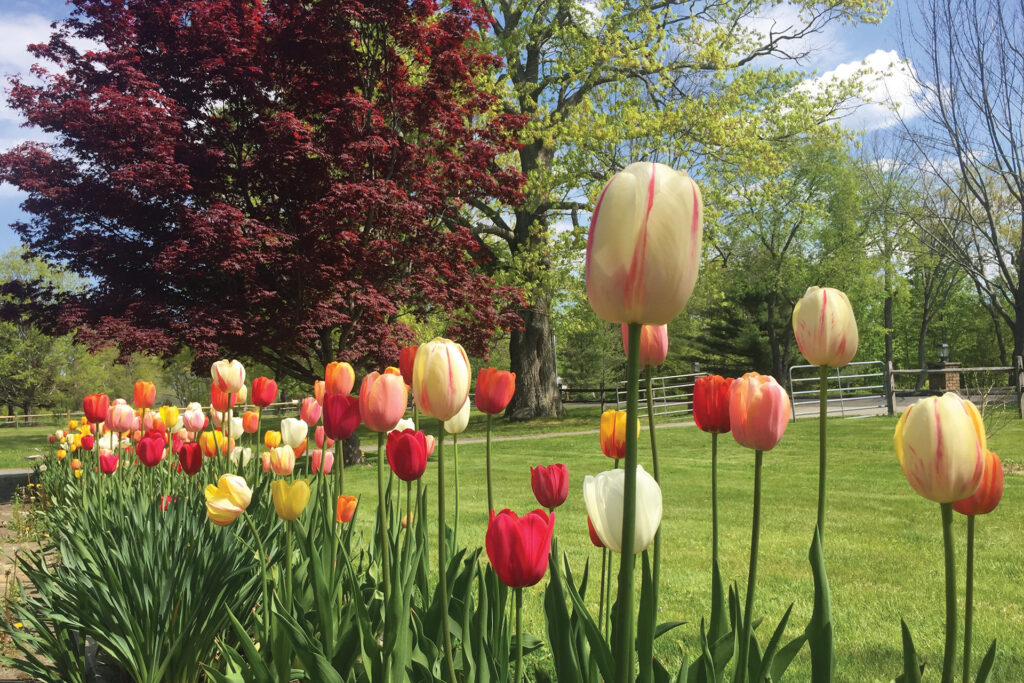
As the snow melts and the microbes awaken, it’s (happily) time to prep your garden.
Pictures and Words by Mira Peck
There’s nothing quite like the scent of the air when you walk out your door on an early spring morning. There’s just something different. The sharpness of winter is gone, replaced by something sweet and welcoming. The ability to recognize the scent of spring is a primal experience all of us experience collectively.
Spring is also the time I, as a professional horticulturist, am “living on light.” The delight of seeing fresh new growth coming up from the ground and tiny leaves unfurling from trees is enough to sustain me as I go about my long workday. Spring may be the heaviest season in terms of labor for us gardeners, but as we take in the smell of defrosting soil and the awakening of trillions of microbes underfoot, readying the ground for the new season’s growth, we do it with lightness and joy. So, what
to do? Great question.
Garden Bed Clean-Up
Cleaning up existing beds after the winter storms is a classic ritual. Time to finally cut back any perennials or grasses you left standing up for winter interest. I use a small scythe tool for this, rather than pruners, to cut old stems quickly and ergonomically.
For my formal garden beds where I have existing perennials, small shrubs and specimen trees or where I intend to plant annuals, I remove all leaves and debris by gently raking them out or by using a leaf blower (preferably electric) on a light setting. All collected debris goes straight into my compost pile.
For my less formal shrub beds, where I purposefully allow leaves on the ground all winter, I rake flat any hills that have been created by wind, pull the leaves over to cover bald areas and fluff up matted spots. This creates a natural mulch layer and an aesthetically pleasing woodland garden feel. The leaves will eventually be broken down by earthworms and other microbes to create a natural humus layer with nutrients to feed your plants. Utilizing leaves from your own site is an easy way to garden ecologically alongside the genius of nature. Bonus benefit: It creates habitat for beautiful beneficial insects including luna moths, woolly bears and swallowtail butterflies to overwinter—that alone sold me!
Weeding
Now’s the time to start getting on top of weeds before they start ruling your life. I use a scuffle hoe to cut up masses of annual weed seedlings, a trowel or soil knife to dig out deep rooted dandelions or second-year garlic mustard and my heartiest spade to dig out hefty burdock roots. My pro-tip: “Never let a weed go to seed!”
If you’re creating a new bed in existing turf or in an unclaimed weedy area, you can smother weeds with a tarp for a period of weeks, or even use cardboard covered with mulch, which will eventually break down.
Edging Garden Beds
Edging a bed always feels like a satisfying accomplishment. It creates a frame around your garden that draws the eye in, creates a delineation that keeps grass from creeping in and gives a boundary for the lawn mower. I use a simple edging tool (one with a bar handle and a half-moon shaped blade on the end) and cut a fresh edge every spring. You can also create permanent edging using bricks, stones, wood beams, steel or fencing.
Fertilizer & Compost
I use an organic slow-release granular fertilizer (an Espoma product) mixed with compost and place it in a ring around the dripline of shrubs and trees. I also shake a thin layer of this throughout my perennial beds and where I plant annuals.
Mulching
We use mulch to suppress weed growth among desirable plants and to insulate soil and help it retain moisture. You can use leaves from your site, as I mentioned earlier, or other materials. Mulch can be made of wood chips, shredded bark, bark chips, gravel or even live plants that knit together to cover the soil. I like mulches that are made of composted wood shavings and horse manure such as Sweet Peet because they have a crumbly texture and are essentially weed-seed free. Two to three inches of mulch is a good rule to go by. Never smother the crowns of your plants or mulch directly up to the trunks of trees in the dreaded “volcano mulching” style; always keep mulch pulled back a few inches from the base of trees (“root flare”) to prevent rotting.
Shrub Pruning
Timing your shrub pruning can seem confusing, but a basic rule of thumb is this: Prune it in the spring if the plant blooms later in the summer or fall and if it blooms in spring, prune it soon after it blooms, in early summer (lilacs and viburnum). If you prune outside these windows, you risk cutting off flower buds.
So, you’ve waited all winter for the signs of spring, and you know in your DNA what they are: sweet air, soft breezes, birds singing and sun shining. Head outside the next beautiful spring day, take a deep breath and get to work in the dirt. Spring is finally here!


Comments are closed.